Easy No Bake Protein Bars

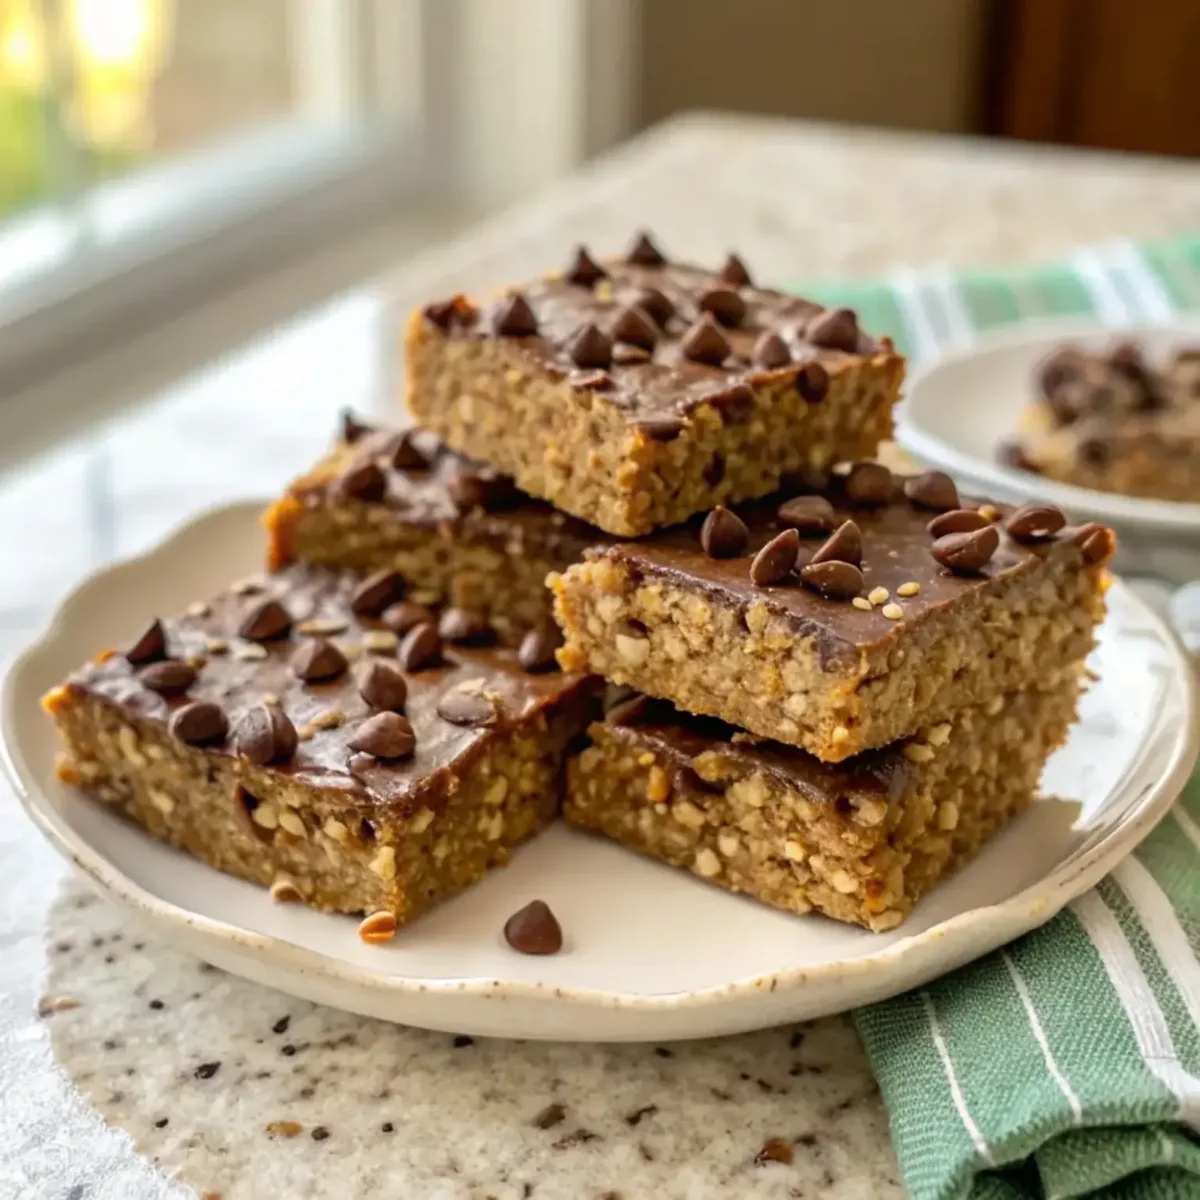
Trying to make a filling lunch without spending the whole afternoon in the kitchen can feel like an impossible task. Now, if you’re like me, you probably want something that’s not only quick to whip up but also downright delicious. That’s where these Easy No Bake Protein Bars come into play. They’re perfect for those busy days when you need a protein boost without the fuss.
Why You’ll Love This Easy No Bake Protein Bars
These protein bars have become one of my go-to make-ahead snacks for the week. With just about 15 minutes of prep, you can whip up a batch that’ll keep you fueled and satisfied. I’ve noticed that having these on hand drastically cuts down on last-minute lunch stress, making it easier for my family to grab something nutritious on the way out the door.
Plus, you can customize them with flavors you love! Whether you prefer vanilla or chocolate protein powder, this recipe is flexible enough to cater to your tastes while still being easy to make.
What Makes this Recipe Unique
- Speed: These bars can be prepped in no time, making them perfect for your busy schedule.
- Protein-packed ingredients: With both protein powder and nut butter, you’re getting a satisfying dose of protein in every bite.
- No Baking Required: Just mix, press, and chill! No oven mess to worry about.
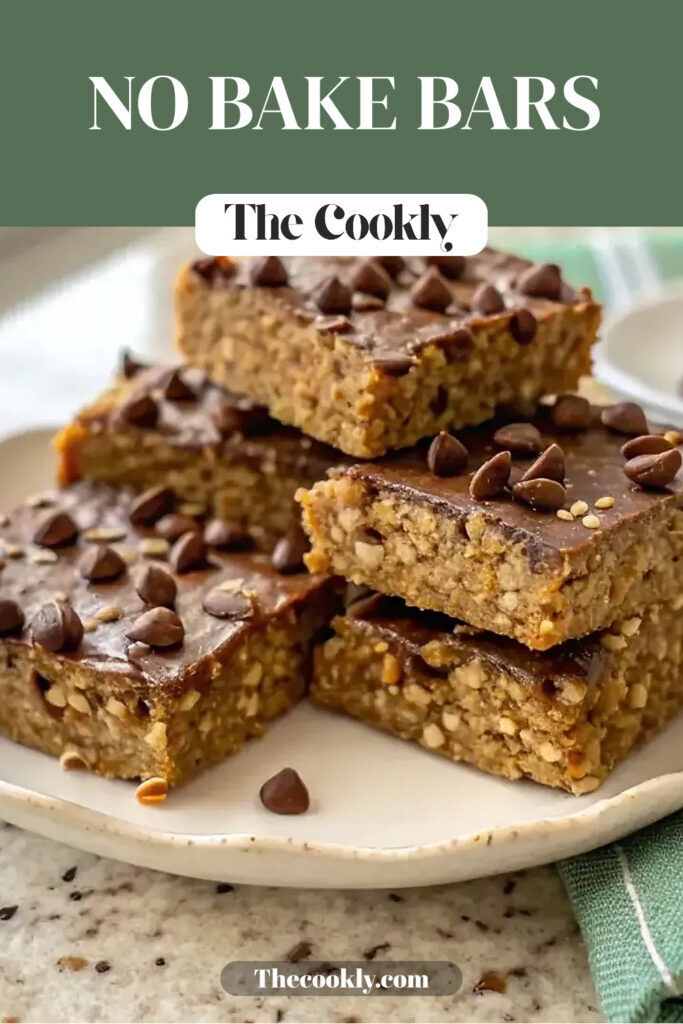
- Customizable Texture: You can enjoy the chewy oats, creamy nut butter, and optional chocolate chips for a delightful treat.
Estimated Macros & Calories
These bars are not only simple but also nutritious.
(estimated per serving, without optional ingredients)
- Calories: 250
- Protein: 10 g
- Carbohydrates: 25 g
- Fat: 12 g
- Fiber: 3 g
The Most Authentic Easy No Bake Protein Bars Recipe
These Easy No Bake Protein Bars are all about delivering wholesome nutrition without complicating your kitchen time. You’ll appreciate how little effort goes into creating these tasty bites that everyone can enjoy.
Craving more? Try my Delish Cinnamon Swirl Protein Cake.
Ingredient Notes
- Protein Powder: The star of the show! It adds protein and a delicious flavor base. I prefer vanilla or chocolate for versatility.
- Nut Butter: Provides creaminess and healthy fats. Natural almond butter is my favorite for its great flavor.
- Honey or Maple Syrup: Acts as a sweetener and binds the ingredients together. Honey gives a firmer bar, while maple syrup keeps it softer.
- Old-Fashioned Oats: These lend a great chewy texture. Don’t swap in quick oats or you’ll lose that heartiness!
- Ground Flaxseed: Adds fiber and a subtle nutty flavor, plus it helps bind the bars.
Instructions
Step 1: Mix Dry Ingredients
Start by mixing the protein powder, nut butter, and oats in a large bowl. This ensures that all dry ingredients are evenly distributed before adding wet ones.
Step 2: Add Sweetener and Flaxseed
Now, pour in your choice of sweetener and add the ground flaxseed. Stir everything together until well combined and you have a cohesive mixture.
Step 3: Fold in Optional Chocolate Chips
If you like a little chocolatey goodness, now’s the time to fold in those mini chocolate chips. It adds a lovely pop of sweetness!
Step 4: Press into Pan
Line an 8×8-inch pan with parchment paper for easy removal. Then, press the mixture firmly into the pan to ensure the bars hold together after chilling.
Step 5: Chill and Slice
Place the pan in the refrigerator for about an hour. Once set, slice into bars and enjoy!
Tips and Mistakes to Avoid
- Don’t skip the chilling step! It’s crucial for the bars to hold together properly.
- Make sure to press the mixture firmly into the pan; this prevents crumbling when you slice them.
- Be careful not to add too much liquid. If your mixture seems too runny, add a bit more oats or nut butter until you reach the right consistency.
Storage Tips
These bars store beautifully in an airtight container in the refrigerator, where they’ll stay fresh for about a week. If you find yourself with extras, they can also be packed for lunches or after-school snacks. I recommend enjoying them fresh, but they can be frozen if you need to keep them longer—just note they’re best enjoyed thawed and slightly chilled.
Variations and Substitutions
- Flavor Variation: Try using chocolate protein powder for a rich chocolatey twist.
- Ingredient Substitution: If you’re looking for a nut-free option, sunbutter works well in place of almond or peanut butter.
- Higher-Protein Option: Add some additional protein powder to boost the protein content seamlessly.
- Gluten-Free Choice: This recipe naturally doesn’t contain gluten, thanks to the oats—just ensure you’re using certified gluten-free oats!
Why This Recipe Is The Real Deal
The simplicity of these bars truly shines through. By using items like protein powder and nut butter, you’ve got a satisfying snack that’s also high in protein without any complicated preparation. In my kitchen, having a recipe like this makes it easy to grab something nutritious for lunch or a midday pick-me-up without feeling guilty about how much time I’ve spent cooking.
Another favorite of mine is the Indulgent Cottage Cheese Chocolate Chip Skillet.
What really brings it all together is that final chill. It solidifies the mixture, ensuring each bite has the perfect chewy texture that makes you want to reach for more.
More High Protein Recipes You’ll Love
If you enjoyed this recipe, these easy ideas are a great next step:
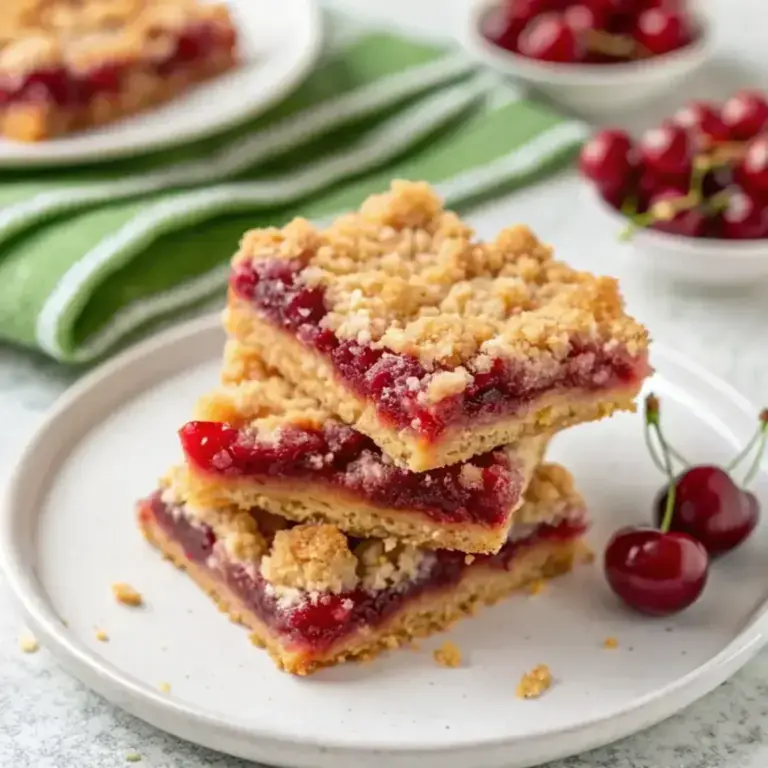
- Easy Cherry Crumble Bars Recipe
- Easy Ground Turkey Sweet Potato Bake
- Loaded Beef and Potato Casserole
- Air Fryer Blueberry Donut Holes
- Easy Cranberry Crumble Bars
- No Bake Salted Caramel Coconut Macaroons
- No-Bake Chocolate Peanut Butter Cookies
- Easy No Bake Strawberry Cheesecake Bars
Want more? Browse all of our high protein dessert recipes or explore the full high protein recipes collection.
Frequently Asked Questions
How long does Easy No Bake Protein Bars take to make?
Most of the work is simple prep, and the recipe comes together in about 30 to 45 minutes from start to finish.
How should I store Easy No Bake Protein Bars?
Keep covered in the fridge for up to 5 days, or at room temperature for 2 days if there is no dairy topping.
Can I freeze Easy No Bake Protein Bars?
Yes. Wrap well and freeze for up to 3 months, then thaw in the fridge before serving.
Can I make Easy No Bake Protein Bars ahead of time?
Yes. Most desserts taste even better the next day once the flavors settle.
What is your top tip for Easy No Bake Protein Bars?
Measure the protein powder or flour carefully and avoid overbaking. Pull it when the center is just set.
What substitutions work for Easy No Bake Protein Bars?
Use a sugar substitute, a different nut butter, or a plant-based protein powder. Texture may vary slightly.
The Bottom Line
These Easy No Bake Protein Bars are a fun, quick way to make sure you’ve got something filling on hand for any busy day! Give this recipe a try and let me know how it turned out for you.
If you like this one, you will also love my Delish Balsamic Glazed Roasted Veggies.
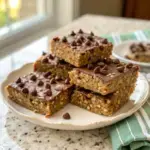
Easy No Bake Protein Bars
Ingredients
- protein powder
- nut butter
- honey or maple syrup
- old-fashioned oats
- ground flaxseed
- mini chocolate chips (optional)
Instructions
- Start by mixing the protein powder, nut butter, and oats in a large bowl. This ensures that all dry ingredients are evenly distributed before adding wet ones.
- Now, pour in your choice of sweetener and add the ground flaxseed. Stir everything together until well combined and you have a cohesive mixture.
- If you like a little chocolatey goodness, now's the time to fold in those mini chocolate chips. It adds a lovely pop of sweetness!
- Line an 8x8-inch pan with parchment paper for easy removal. Then, press the mixture firmly into the pan to ensure the bars hold together after chilling.
- Place the pan in the refrigerator for about an hour. Once set, slice into bars and enjoy!