Easy Cherry Crumble Bars Recipe

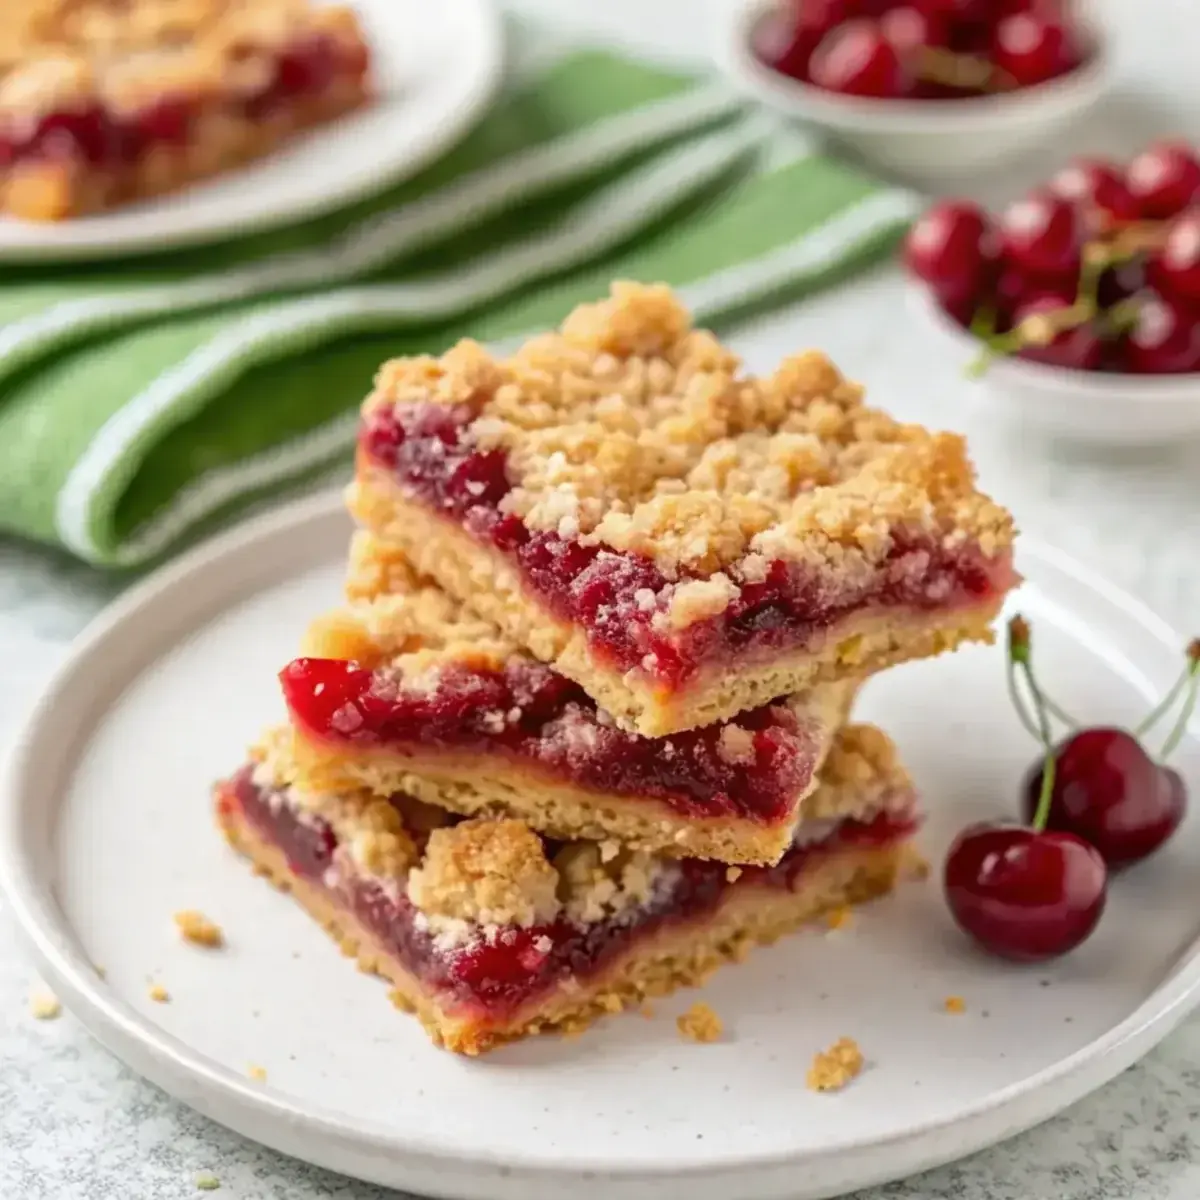
I’ve always found myself craving comfort food that can fit into our busy family life without sacrificing taste. This Easy Cherry Crumble Bars Recipe is a deliciously simple way to enjoy a beloved treat while testing a higher-protein version. With fresh cherries and a crumbly topping, these bars are perfect for after-school snacks or dessert after a busy weeknight dinner. Plus, they’re satisfying enough to please everyone at the table!
- Prep20 minutes
- Cook35 minutes
- Total55 minutes
- Serves16
Why You’ll Love This Easy Cherry Crumble Bars Recipe
One of the things I love about these cherry crumble bars is how easy they are to make ahead. You can whip them up for the weekend and enjoy them throughout the week, making them a great way to bring some freshness to your family meals. When I get my kids involved in the baking process, it transforms into a fun activity that creates great memories.
The affordability of this recipe is also a big plus. Cherries are in season during the summer, making them easy to find and budget-friendly. Using simple ingredients, this recipe aligns perfectly with my approach to cooking: flavorful meals that don’t break the bank.
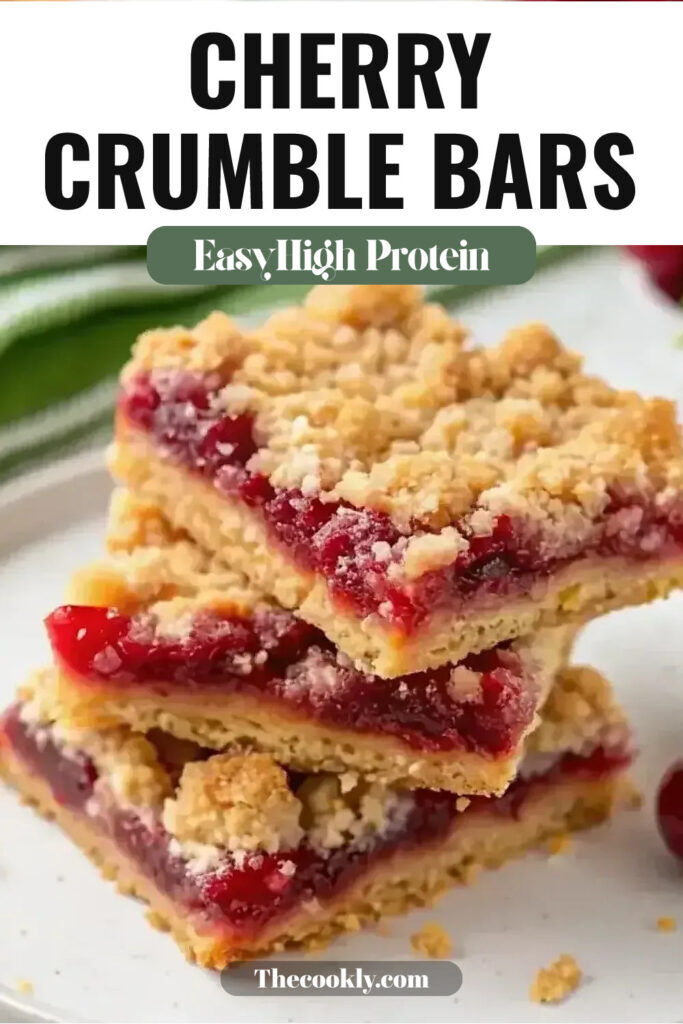
What Makes this Recipe Unique
- Affordability: Simple, everyday ingredients you can find at your local grocery store keep the cost low and accessible.
- Fresh Cherries: Juicy cherries lend a sweet and tart flavor that makes each bite refreshing and bright.
- Crispy Topping: The crumble topping is delightfully crispy, creating the perfect contrast to the soft, warm cherry filling.
- Make-Ahead Friendly: These bars are easy to prepare in advance, making them ideal for meal prep or unexpected guests.
Estimated Macros & Calories
Here’s a quick look at the estimated nutritional profile of the bars:
(estimated per serving, without optional ingredients)
- Calories: 205
- Protein: 2 g
- Carbohydrates: 31 g
- Fat: 10 g
- Fiber: 1 g
The Most Authentic Easy Cherry Crumble Bars Recipe
This Easy Cherry Crumble Bars Recipe stays true to the classic dessert while adding a wholesome twist. It’s an approachable way to enjoy the nostalgic flavors of cherry crumble in a convenient bar form, perfect for sharing with friends and family.
Craving more? Try my Easy No Bake Protein Bars.
Ingredient Notes
- All-Purpose Flour: Essential for structure, this creates the foundation of the bars and helps give them a satisfying texture.
- Granulated Sugar: Provides sweetness and balances the tartness of the cherries, making the bars deliciously inviting.
- Unsalted Butter: Adds richness and moisture to the dough; make sure it’s cold for that perfect crumble texture.
- Fresh Pitted Cherries: The star ingredient, offering natural sweetness and an attractive pop of color as they melt into the filling.
- Egg: Binds the dough together while contributing a slight richness; I always use a lightly beaten egg for the best result.
Instructions
Step 1: Preheat and Prepare
Begin by preheating your oven to 375°F (190°C) and lightly greasing a 9×13-inch baking dish. This ensures your bars come out easily and maintain their shape.
Step 2: Mix Dry Ingredients
In a large mixing bowl, whisk together the flour, sugar, baking powder, and salt until everything is well combined. Taking this step ensures that all the dry ingredients are evenly distributed throughout the mixture.
Step 3: Incorporate Butter
Mix in the cubes of cold butter using your fingers or a pastry cutter until you achieve a sandy texture. This is crucial for creating that delightful crumble topping.
Step 4: Combine Wet Ingredients
Whisk the egg with milk in a separate bowl. Gently stir this mixture into the flour blend until it forms a cohesive dough that is soft yet holds together well.
Step 5: Form the Base
Press about half of the dough into the bottom of your prepared baking dish, creating an even layer. Don’t skip pressing firmly—this layer acts as the sturdy base for the cherry filling.
Step 6: Prepare Cherry Filling
In a separate bowl, mix the cherries with cornstarch, vanilla extract, and a couple of tablespoons of sugar. This will help the cherry filling create a lovely, thick sauce as it bakes.
Step 7: Assemble
Spread the cherry mixture evenly over the crust. Then, crumble the remaining dough on top of the cherries in a rustic manner, ensuring coverage without being too uniform.
Step 8: Bake
Place the dish in the oven and bake until the topping is golden and the cherries are bubbling at the edges. Checking for those golden hues will help you gauge the perfect baking time.
Step 9: Cool and Slice
Allow the bars to cool completely in the dish before slicing them into squares. This part is key as it helps maintain their shape when you cut into them.
Tips and Mistakes to Avoid
- Ensure your butter is cold; this promotes a flaky crust. Room-temperature butter can lead to an undesirable texture.
- Don’t overmix the dough when combining wet and dry ingredients. This can make the bars tough instead of tender.
- Allow the bars to cool fully before slicing. Cutting them too early can cause them to fall apart.
Storage Tips
You can store these bars in an airtight container at room temperature for a couple of days. For longer storage, keep them in the fridge, and they’ll last up to a week. If you want to enjoy them later, consider freezing them—though I always recommend enjoying them fresh for the best taste.
Variations and Substitutions
- For a different flavor, you might try using blueberries instead of cherries for a delightful twist.
- If you’re looking for a nut-free option, simply ensure you use plain all-purpose flour without any added ingredients.
- To increase protein content, consider pairing the bars with a serving of Greek yogurt when you enjoy them.
Why This Recipe Is The Real Deal
These cherry crumble bars resonate with the simplicity of home baking. The steps are straightforward, and the ingredients are things you likely have in your pantry. I’ve made these for everything from potlucks to just a fun weekend treat, and they never disappoint.
Another favorite of mine is the Indulgent Cottage Cheese Chocolate Chip Skillet.
The combination of a crispy topping and the gooey cherry filling creates a treat that’s comforting and satisfying. This recipe really works because it balances flavors and textures so effortlessly.
More High Protein Recipes You’ll Love
If you enjoyed this recipe, these easy ideas are a great next step:
- Loaded Beef and Potato Casserole
- High Protein Chicken Street Corn Salad
- Easy Honey Garlic Kielbasa Dinner
- Air Fryer Blueberry Donut Holes
- Easy Cranberry Crumble Bars
Want more? Browse all of our high protein dessert recipes or explore the full high protein recipes collection.
Frequently Asked Questions
How long does Easy Cherry Crumble Bars take to make?
Prep time is 20 minutes and the total time is 55 minutes . It makes 16 servings.
How should I store Easy Cherry Crumble Bars?
Store leftovers in an airtight container in the fridge for up to 4 days.
Can I freeze Easy Cherry Crumble Bars?
Yes. Freeze in portions for up to 3 months and thaw in the fridge before reheating.
Can I make Easy Cherry Crumble Bars ahead of time?
Yes. Prep the components ahead of time and finish the recipe just before serving.
What is your top tip for Easy Cherry Crumble Bars?
Read through the recipe first and prep every ingredient before you start cooking for the best results.
What substitutions work for Easy Cherry Crumble Bars?
Swap the main protein for chicken, turkey, shrimp, or beans, and use Greek yogurt in place of sour cream or mayo.
The Bottom Line
You’re going to love how easy it is to make these Easy Cherry Crumble Bars, and they’ll surely become a favorite in your home. I invite you to give them a try and share how they turned out!
If you like this one, you will also love my Delish Cinnamon Swirl Protein Cake.
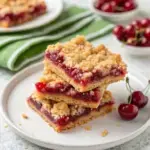
Easy Cherry Crumble Bars Recipe
Ingredients
For the Crust and Topping
- 1.5 cups all-purpose flour
- 1 cups granulated sugar
- 0.5 tsp baking powder
- 0.25 tsp salt
- 4 oz unsalted butter cold, cut into cubes
- 1 large egg lightly beaten
- 2 tbsp milk
- 2 cups fresh pitted cherries you can use frozen cherries, thawed and drained
- 1 tbsp cornstarch
- 0.5 tsp vanilla extract
Instructions
Preparation Steps
- Start by preheating your oven to 375°F (190°C) and lightly greasing a 9x13-inch baking dish.
- In a large mixing bowl, whisk together the flour, sugar, baking powder, and salt until well combined. Then, mix in the cubes of cold butter using your fingers or a pastry cutter until you achieve a sandy texture.
- Whisk the egg with milk and stir this mixture into the flour blend until it forms a soft, cohesive dough.
- Press approximately half of the dough into the bottom of the prepared baking dish, forming an even layer.
- For the cherry filling, mix the cherries with cornstarch, vanilla extract, and a couple of tablespoons of sugar in a separate bowl. Spread this cherry mixture evenly over the crust.
- Crumble the remaining dough on top of the cherries, creating a rough and rustic look.
- Bake in the preheated oven for about 30 to 35 minutes, or until the topping is golden and the cherries are bubbling at the edges.
- Allow the bars to cool completely in the dish before slicing them into squares. This helps them hold their shape.